“Orange” You Glad You Read This!

I have been using this Orange cleaner for a little over a year now. It is the best cleaner ever! In fact, I like it so much that it is the only thing I use. It cleans wonderfully, smells great, and best of all it is natural, safe, and dirt cheap. I use it on my mirrors, windows, electronics, counters, to clean my floors, and even in my steam cleaner. This is especially great for pet “accidents” on the carpets because the enzymes in vinegar and the acid in the citrus cut the enzymes in pet urine and breaks them down, not only cleaning the carpet but removing the smell! I save hundreds a year on cleaning products thanks to this wonder cleaner! A big thanks to The Making of A Home Blog for sharing it!

Holly K. Ross

What I am about to share with you is the simplest of all homesteading, self-sufficient things.

Making your own orange oil cleaner.

It is this simple:

Peel oranges- eat the oranges

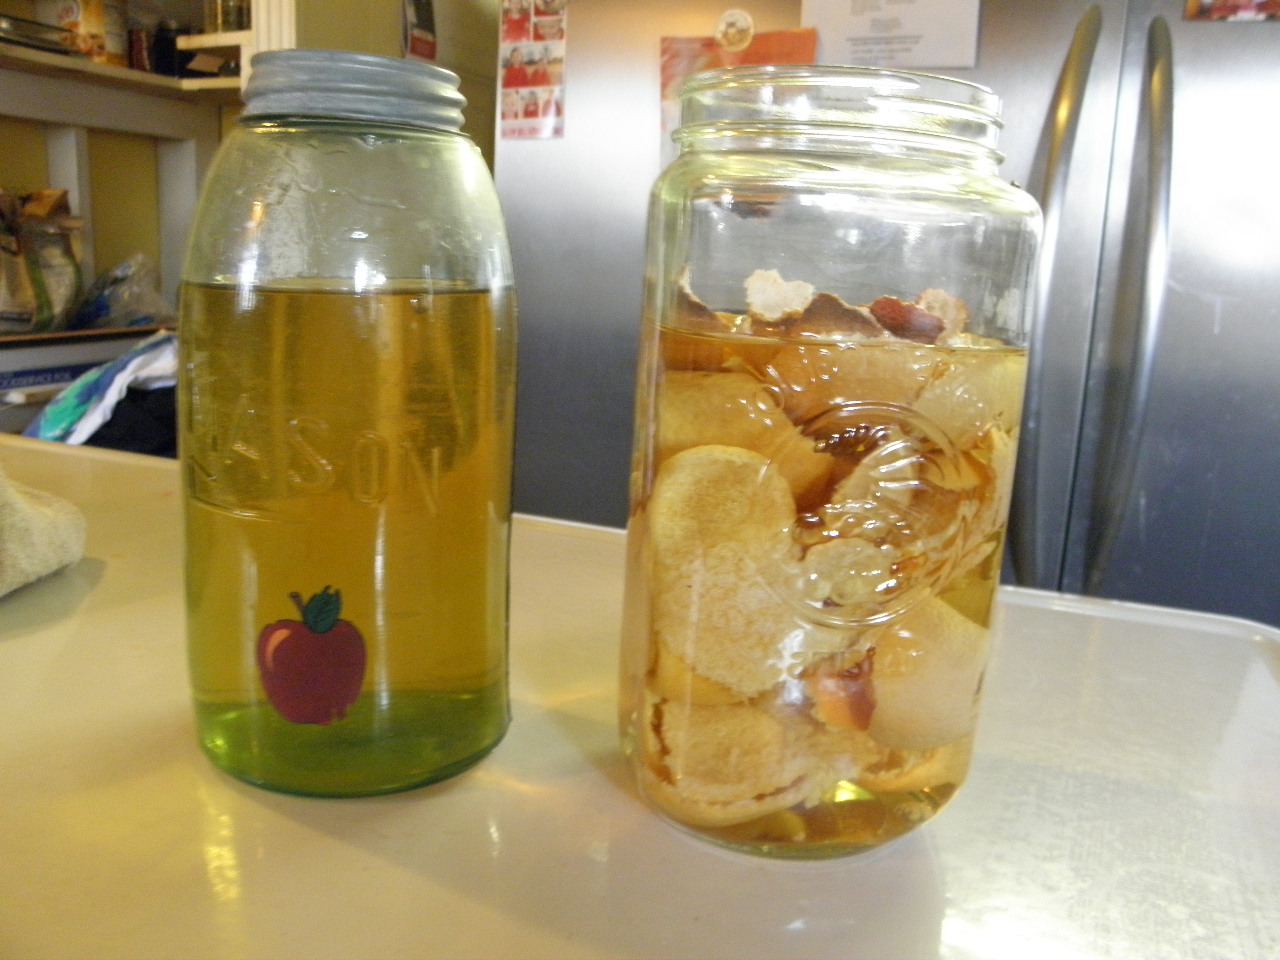
Place the peelings in a large jar and cover the peelings with vinegar.

Let set in a sunny window for about 3 weeks- longer is OK, less time will make it weaker.

You can collect the peelings over several days to a week.

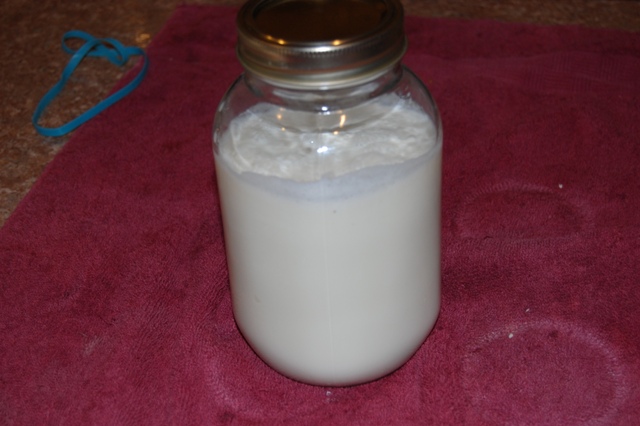
Strain vinegar into a clean jar.

That is it!  I dilute it by half into a spray bottle.

Now you can have high quality orange cleaner for just pennies and you know exactly what is in it.

Orange oil


View original post

Well, Butter My Biscuits!

Their is nothing in the world as yummy as fresh butter. Recently, myself and Big Daddy (my husband) discovered the ease and fun of making our very own home made butter! It taste so much better then any store bought we have ever tried and at approximately $4.35 for six pounds of butter, you can’t go wrong!

I thought it would be cool to share our home made butter how to.. Enjoy!

What you need:

Heavy Whipping Cream (I usually use three pints at a time.)

Salt (1/4 tsp per pint. I usually use 1 tsp per three pints)

A Kitchen Aid ( You can also make butter with a hand mixer.)

20 minutes of your time

Warning

For you Kitchen Aid users I thought it would be kind of me to issue this tip and warning. Do not use the mixing doohickey below for your butter. Trust me, I learned that the hard way. Myself and my kitchen where splattered in heavy whipping cream, much to Big Daddy’s amusement…

 Image

        The butter milk “avenger” above is a no no…

Image

The Kitchen Aid attachment above is your butter making friend.

Directions

Image

For Kitchen Aid: Pour heavy whipping cream into a mixing bowl and add salt. If using a Kitchen Aid, turn it onto medium and let it do it’s magic! You don’t need to watch it consistently. I go about other things and then just check it every five minutes or so.

For Hand Mixer: Mix on medium consistently

Image

For Kitchen Aid: The mixture will start becoming thicker and frothy in appearance. You will also notice that it is beginning to change from a white color to very light yellow.

For Hand Mixture: Same as above.

Image

For Kitchen Aid: Finally, the butter will begin to separate from the butter milk and stick to the mixing tool. You will also notice that the sound of the Kitchen Aid will change due to the thickness of the mixture. When you butter is fully separated from the butter milk then it is done!

For Hand Mixture: When the mixture begins to separate turned down your mixer to a lower level so you don’t end up wearing your mixture.

Image

(Your butter should be fully separated from the butter milk like the picture above.)

Image

Gather all of the butter from inside the bowl and the mixing tool and form a ball. Squeeze while your forming your butter ball to remove excess butter milk. You don’t have to squeeze hard. Put your butter in a container and enjoy!

Image

Save the buttermilk! It taste fantastic! I usually put mine in a jar and use it to make a large batch of pancakes to freeze. The butter milk makes a killer ranch dressing! You can also freeze it for future use.

So their you have it..

Welcome to Old Path Living


Hello new readers,

I just wanted to take the time to welcome you to my new blog. It is just up and running so give me time to start adding some really cool content!

On Old Path Living you will find tops on Simpler Living, Budgeting, Back to the Basics, Natural Beauty, Self Sufficiency, Making food and others things from scratch, Living The Old Path (or Pagan Path) and a wealth of great ideas for DIY home decor with a rusting/country touch.

Their are many wonderful blogs out there with related content. In fact, I love many blogs out there! However, it has been my experience that most of such blogs are Christian based and heavy on the Christian Faith. While I have issue with the Christian faith, I thought it would be nice to create a similar blog with a Pagan flair so those of like mind can come here to enjoy the many wonderful aspects of Simpler Living, Back to the Basic Living, and Homesteading Ideas.

Look forward to your regular visits here at Old Path Living!

Blessed Be,

Lady Dark Rose